
Before we begin creating Gravity PDF documents you should setup the Notification emails in Gravity Forms. Identify who should receive each PDF and create Notifications to suit.
Using the fictitious example in the Rundown section, we want Notifications for:
- Logistics
- Customer
- Accountant
- Sales
With that short plan in mind, let’s create the Notifications:
- On the Form List page, hover over the form name, then the Settings link, and finally click Notifications.

- On the Form List page, hover over the form name, then the Settings link, and finally click Notifications.

- Click Add New and give the notification an easily-identifiable Name.
- Setup the Send To field where the Notification will be sent
- Add a From Name and From Email
- Write a suitable Subject and Message for the email.
- Click Save Notification.


7. Repeat all steps to add additional Notifications
Now it’s time to create all the PDFs for your Gravity Form. This is where you control the look and feel of the generated documents, as well as which fields to include in each.
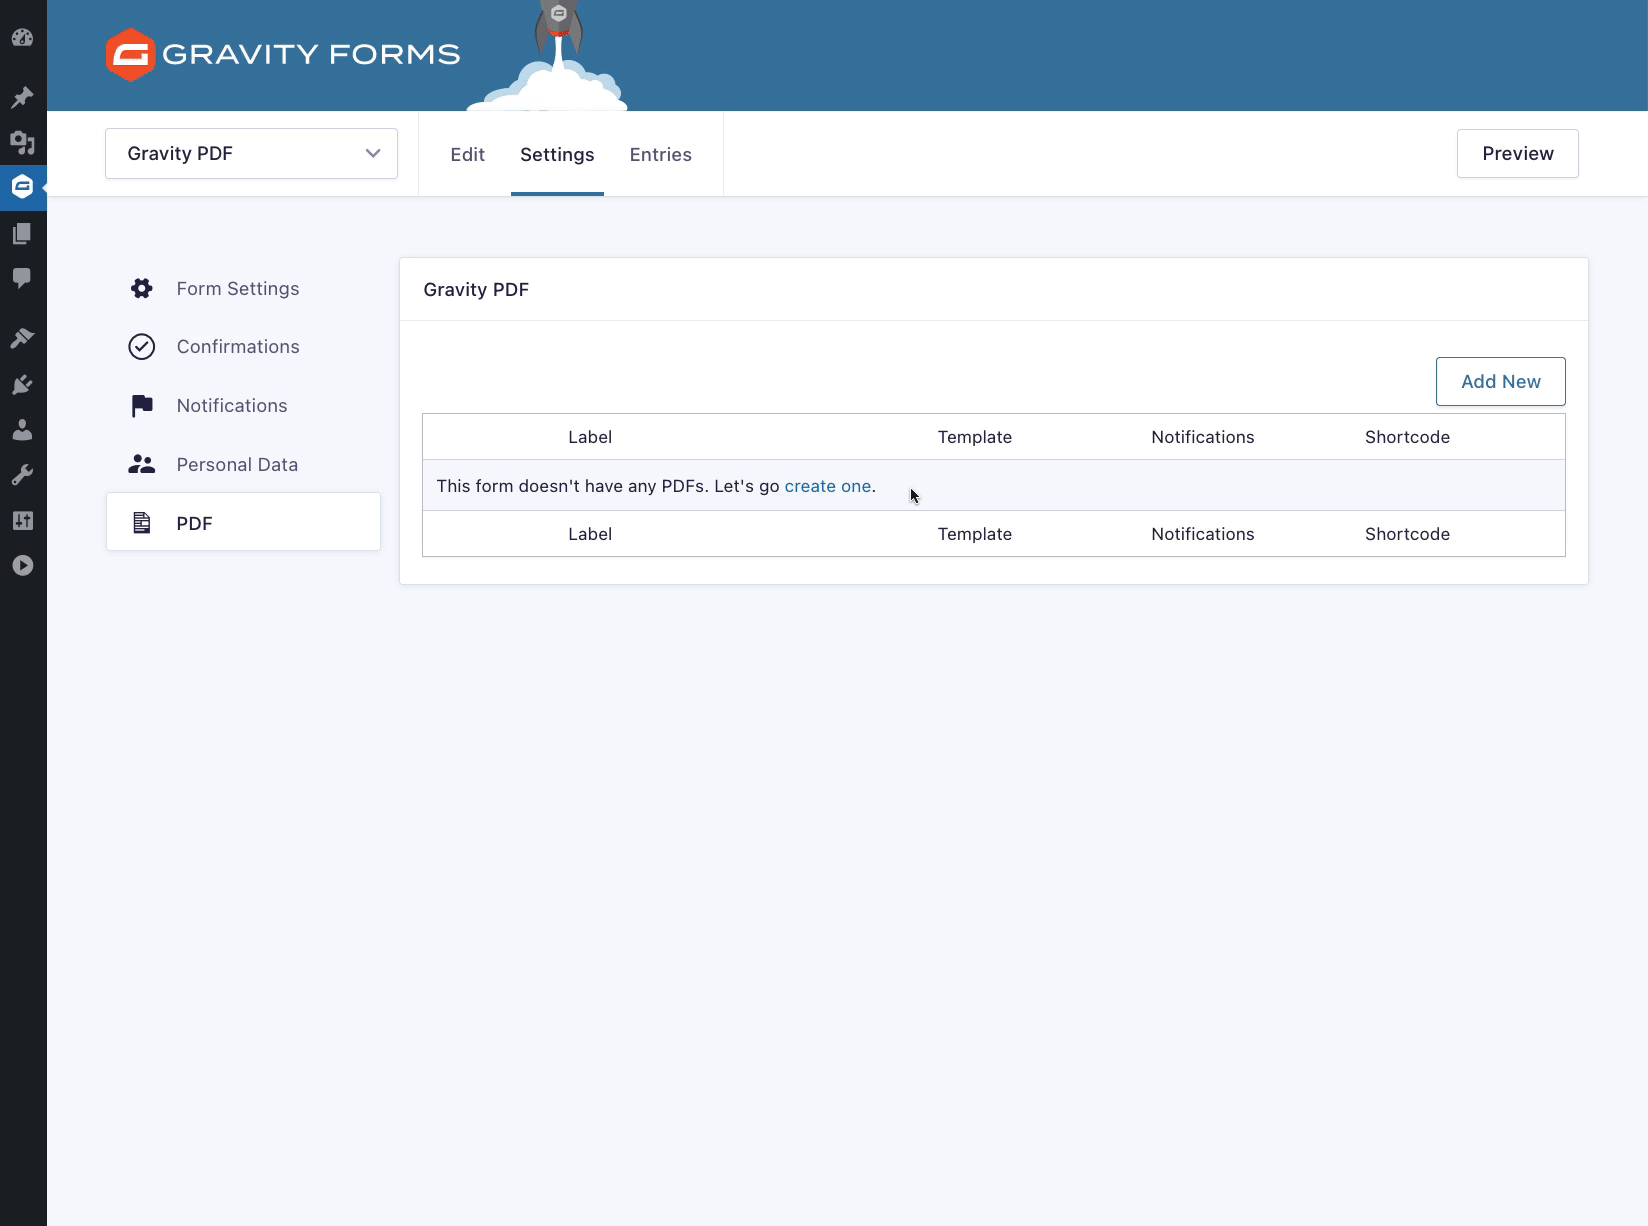
- On the Form List page, hover over the form name, hover on Settings, and click PDF.

- On the Form List page, hover over the form name, hover on Settings, and click PDF.

- Click Add New and start filling out the settings in the General tab:
- Name — Give an easily-identifiable name to the PDF. This name is used internally only.
- Template — Choose the base design for your PDF. There are four free Core templates to choose from and nine paid Universal designs.
- Notifications — Automatically attach the PDF to Gravity Form Notifications. Match PDFs to the Notifications you setup in Step 1.
- Filename — Set the PDF filename (merge tags are supported).
- Click Add New and start filling out the settings in the General tab:
- Once the General settings are configured, navigate to the Template tab and scroll down to the Display Fields setting.
- Click on Remove all fields, and select the fields you want displayed in the PDF from the left column (tip: enable the Show HTML Fields and Ungroup the Products to get control over HTML and Product fields, too).
- Scroll to the bottom of the page and click the Add PDF button.

Now that you’ve created your first PDF, you’ll want to test it out to make sure it’s generating correctly.
- On the Form List page, hover over the form name, then click the Entries link when it appears.
- Hover over one of the entries on this page and click View PDF link that appears (if no entries are showing, fill in your form first).

- Your generated PDF will be displayed in your browser and will look exactly like the one that will be automatically attached to the Notification emails you setup in Step 1.
Life’s too short to waste it on repetitive tasks! You can quickly setup the other PDFs by duplicating the initial one, modifying a few of the settings and saving.
- Go back to the PDF List page
- Hover over the name of the first PDF template you created and click the Duplicate link.
- By default, the duplicate PDF is inactive; go ahead and activate it before clicking the Edit link on your duplicate PDF.

- Adjust the Name, Notifications, Filename, and Display Fields settings (and any others) and then click the Update PDF button to save.
- Test your Duplicated PDF
- Repeat all the steps for any other documents you want to setup on the form.
