
Picture this: you’re a Gravity PDF user taking advantage of the Reports for GFChart add-on to create stunning automated reports that you send to your clients (great job). Now you’re thinking, “I want those reports sent on a regular basis.” You’ve already eliminated the monotonous task of assembling data, but if your routine still involves manually generating and sending those reports at 7am every day, it defeats the purpose! Both automation and timing are key  .
.
Before you do anything else, you need to double check your WordPress site Timezone so that your schedule will be accurate. In the Admin area, hover over Settings in the main menu and click General. Confirm that the Local time is displayed correctly under the Timezone setting (or if the Local time isn’t shown, verify the Universal time is correct). If it isn’t, use the dropdown menu to select the timezone you are in and save your changes.

The charts/calculations you’re going to use in the scheduled report must have a relative date range. You don’t want to disturb your existing charts/calculations used in the first report (see Part 1 of the How To guide), so let’s go ahead and clone them.
First, identify the charts/calculations you want to include in your scheduled report, then click/select the “Clone” link when hovering over the chart.

Now Edit each chart/calculation, update the Title (so you don’t confuse it with the original) and then toggle to the Select data tab to set a relative date range. We’ll use the Total Donations calculation for this example:
One common setup is to use a relative date range that’s similar to your notification’s schedule frequency. For example, we want to send a weekly report every Monday using the previous week’s data, so we’ll set the GFChart Start date to Monday last week. Click the Save button to finish.
Complete this process for the remainder of the charts/calculations you’ve cloned.
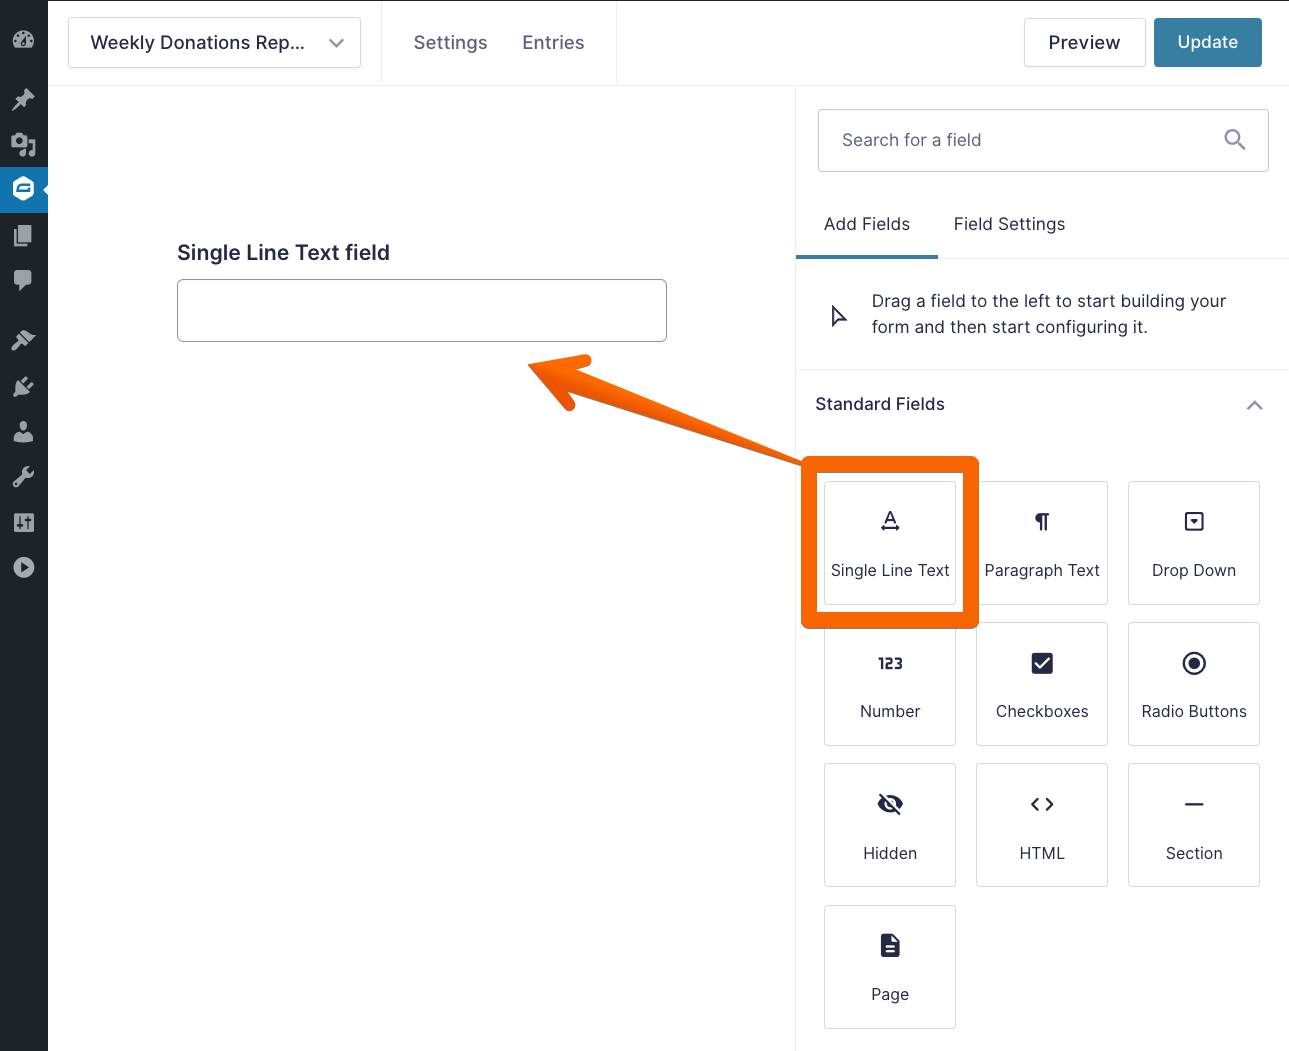
Creating a new Gravity Forms form is required, and it will be specifically used to set the schedule of your Weekly Donations Report. Because all the data will be pulled from your Total Donations GFChart, your form doesn’t need to capture any information. However, Gravity Forms will complain if there isn’t at least one input field, so go ahead and add a Single Line Text field.
Next, add a new PDF with one of the Report for GFChart templates. If this is your first rodeo using Gravity PDF and GFChart, refer to Part 1 of this How To guide on how to set up a PDF report.
We’ll be scheduling the Admin Notification email, so let’s go ahead and configure the PDF to be automatically attached to it.

Next, under the Template tab, select the charts you want to include in your report.
In this case, select all the GFCharts we’ve cloned earlier. The charts are as follows: Total Donations, Country Demographic, and Survey Results.
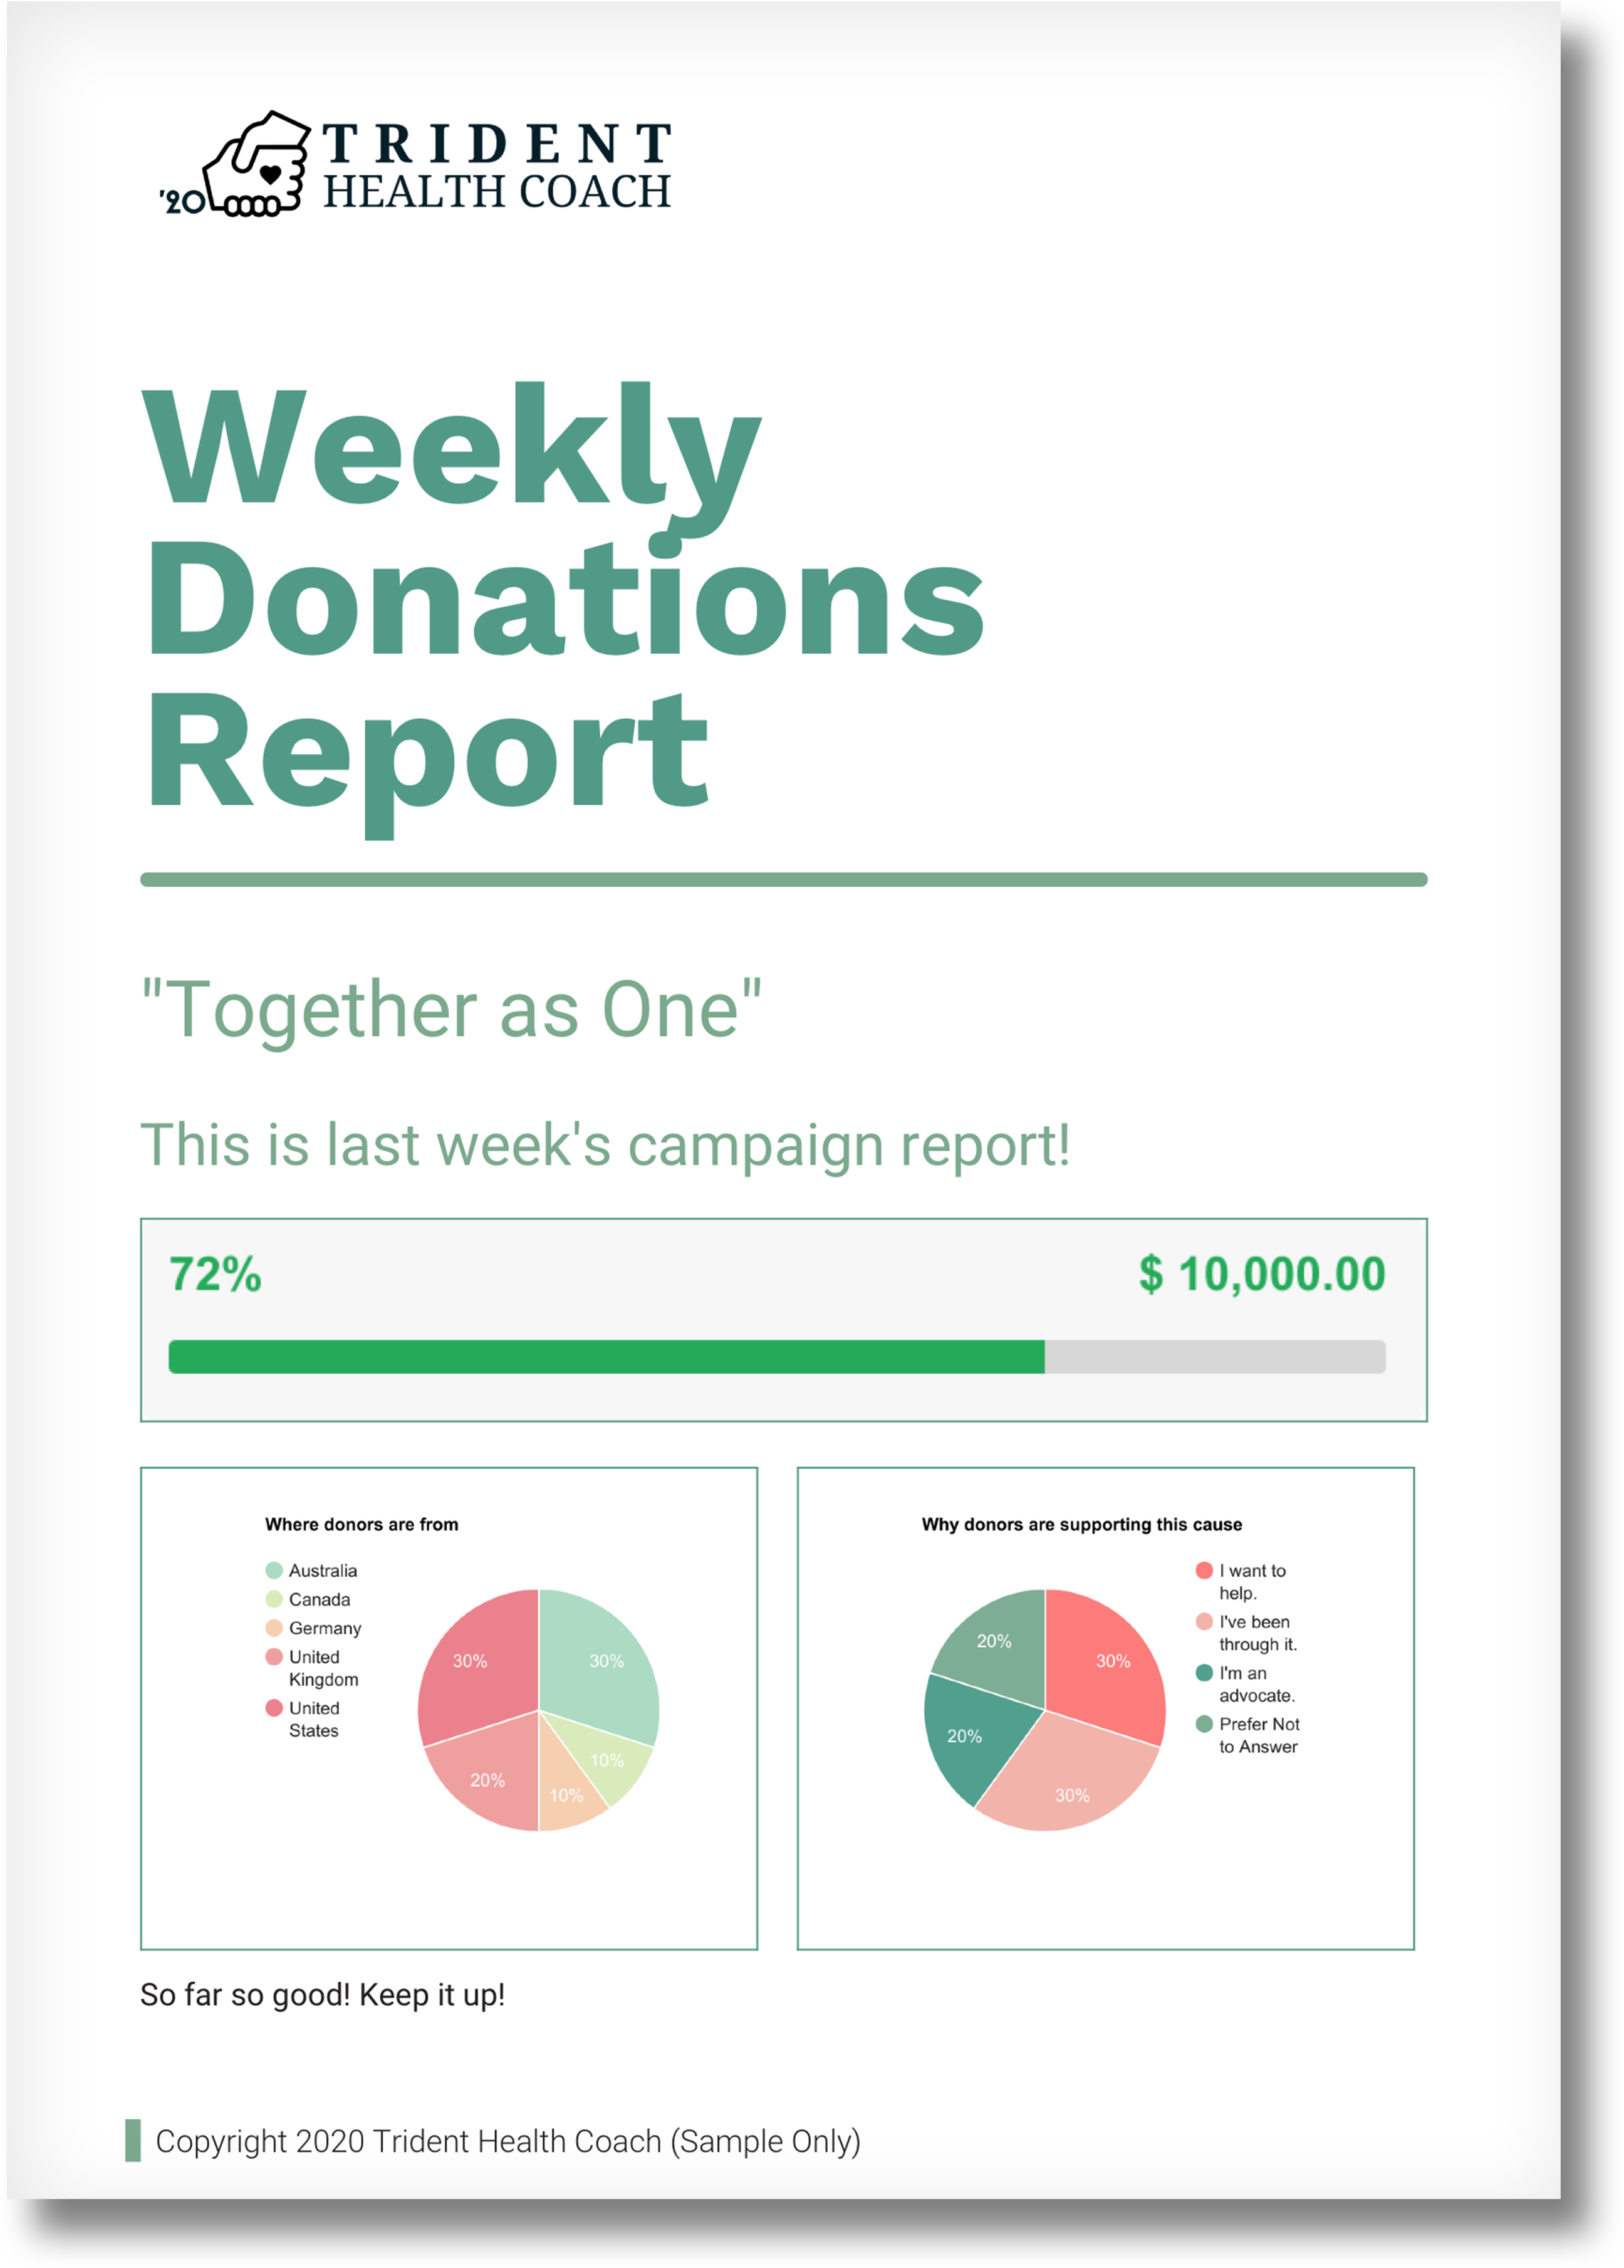
Time to test your PDF report! 📥 Go Preview your form and submit a sample entry with dummy data in your Single Line Text field.
 Then head to the Entries List Page, hover over the newly-submitted entry and click View PDF. See a PDF that looks something like the sample below, with your charts included? Awesome!👍
Configuring the notification is important to ensure that your report makes it to your inbox. If you haven’t already, navigate to the Notifications settings of your report form, click edit on the Admin Notifications and add/edit all the necessary fields, before saving.
In the From Email field, be sure to use an email address from the same domain as your website field to prevent any delivery issues.
At this point, it’s advisable to check if the PDF report is generated and attached correctly to the notification. Submit a new test entry using your report’s form, and check if the email is received with the PDF report attached to it. If everything is in order, it’s time to schedule your report!
Before you proceed, make sure the GFChart Schedule Notifications plugin is installed on your site! Enabling this plugin will unlock the Schedule Notification option at the bottom of your notifications settings.
Go back to the Notifications settings of your report’s form, scroll down to the Schedule Notification option, and check Set a schedule to send notification to reveal a dropdown of all the available scheduling frequency.

Set the frequency to week, and hit Update Notification.
By default, the countdown of the schedule interval (in our case, one week) will start running the moment you click Update Notification. In order to set a more specific time, you need to install the free plugin WP Crontrol from WordPress.org.
Once you’ve enabled the WP Crontrol plugin, hover over the Tools in your Admin Area and select Cron Events.

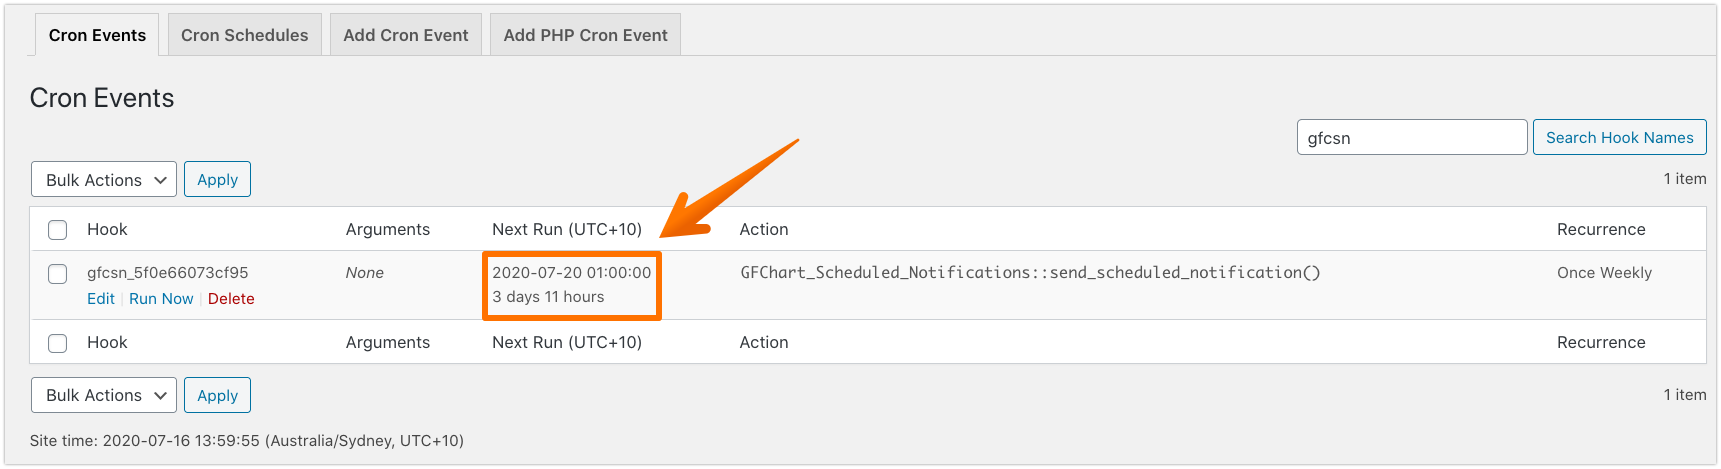
Using the Search Hook Names tool located at the top right, type in gfcsn to filter the hook that’s assigned to GFChart Scheduled notifications and click Edit.

In this example, we’ve set it to July 20, 2020 1:00 AM
Set the Next Run to next Monday’s date and adjust the new delivery time, then click Update Event.
Go back to the Cron Events page, and once again search for the gcsn hook to check if the next run time for the notification has been set correctly.
And that’s a wrap! Bye-bye manual reporting.👍
